Setting up an E-commerce Site With Django Oscar
Oscar is a collection of Django applications to create e-commerce sites with Python. It is well designed, extensible, and has plenty out-of-the-box features. You can run it as-is or use it as a framework to create a highly customized shop.
Personally, I have used Oscar to build tailor-made shops for my customers. Whatever your purpose is, the installation and setup process is the same. Since Oscar documentation might not be the most complete and up-to-date, I decided to write this introductory guide. Note that this is guide is for setting up Oscar in a local, development environment. A production deployment might require extra work and configuration, which is out of our scope, although this guide can work as a starting point.
Although the documentation states that Oscar doesn't work on Windows, I've been developing with Oscar on Windows just fine. You probably don't want to run Oscar on Windows in production, though.
Setting up Oscar
First of all, make sure you have a Python version installed that is supported by Oscar. The most reliable way to know which versions are supported by Oscar is look at the python_requires option in Oscar's setup.py file. At the time of writing this guide, Oscar supports Python 3.8 or greater.
Once Python is ready, create and activate a virtual environment where Oscar and its dependencies will be installed:
After that, install Oscar with the following command:
pip install django-oscar[sorl-thumbnail]
This will also install the proper Django version required by Oscar.
Now we need to create a new Django project. Let's call it myshopprj:
django-admin startproject myshopprj
(I like to use the prj suffix for project names, to make sure they do not conflict with application names.)
Up to now, we just have a regular Django project. Let's add the necessary configuration to turn it into an Oscar e-commerce site. Open myshopprj/myshopprj/settings.py and import Oscar's default configuration at the top of the file:
from oscar.defaults import *
In the same file, find the INSTALLED_APPS list, and add the following applications at the end of the list:
'django.contrib.sites',
'django.contrib.flatpages',

'oscar.config.Shop',
'oscar.apps.analytics.apps.AnalyticsConfig',
'oscar.apps.checkout.apps.CheckoutConfig',
'oscar.apps.address.apps.AddressConfig',
'oscar.apps.shipping.apps.ShippingConfig',
'oscar.apps.catalogue.apps.CatalogueConfig',
'oscar.apps.catalogue.reviews.apps.CatalogueReviewsConfig',
'oscar.apps.communication.apps.CommunicationConfig',
'oscar.apps.partner.apps.PartnerConfig',
'oscar.apps.basket.apps.BasketConfig',
'oscar.apps.payment.apps.PaymentConfig',
'oscar.apps.offer.apps.OfferConfig',
'oscar.apps.order.apps.OrderConfig',
'oscar.apps.customer.apps.CustomerConfig',
'oscar.apps.search.apps.SearchConfig',
'oscar.apps.voucher.apps.VoucherConfig',
'oscar.apps.wishlists.apps.WishlistsConfig',
'oscar.apps.dashboard.apps.DashboardConfig',
'oscar.apps.dashboard.reports.apps.ReportsDashboardConfig',
'oscar.apps.dashboard.users.apps.UsersDashboardConfig',
'oscar.apps.dashboard.orders.apps.OrdersDashboardConfig',
'oscar.apps.dashboard.catalogue.apps.CatalogueDashboardConfig',
'oscar.apps.dashboard.offers.apps.OffersDashboardConfig',
'oscar.apps.dashboard.partners.apps.PartnersDashboardConfig',
'oscar.apps.dashboard.pages.apps.PagesDashboardConfig',
'oscar.apps.dashboard.ranges.apps.RangesDashboardConfig',
'oscar.apps.dashboard.reviews.apps.ReviewsDashboardConfig',
'oscar.apps.dashboard.vouchers.apps.VouchersDashboardConfig',
'oscar.apps.dashboard.communications.apps.CommunicationsDashboardConfig',
'oscar.apps.dashboard.shipping.apps.ShippingDashboardConfig',

# 3rd-party apps that oscar depends on
'widget_tweaks',
'haystack',
'treebeard',
'sorl.thumbnail',
'django_tables2',
As you can see, Oscar features are implemented as regular Django applications.
After installing the applications, find the TEMPLATES dictionary, and inside the context_processors key add these items to the end of the list:
'oscar.apps.search.context_processors.search_form',
'oscar.apps.checkout.context_processors.checkout',
'oscar.apps.communication.notifications.context_processors.notifications',
'oscar.core.context_processors.metadata',
Now find the MIDDLEWARE list and append to the end:
'oscar.apps.basket.middleware.BasketMiddleware',
'django.contrib.flatpages.middleware.FlatpageFallbackMiddleware',
So far so good. As any other Django application, Oscar makes heavy use of static assets and media files (for example, to store product images.), hence they must be correctly set up. To do so, find the line:
STATIC_URL = 'static/'
And right after add the following:
STATIC_URL = 'static/'
STATIC_ROOT = BASE_DIR / 'static_root'
MEDIA_URL = 'media/'
MEDIA_ROOT = BASE_DIR / 'media_root'
Now go to the end of settings.py and add these lines:
SITE_ID = 1
HAYSTACK_CONNECTIONS = {
    'default': {
        'ENGINE': 'haystack.backends.simple_backend.SimpleEngine',
    },
}
It is important to define the SITE_ID since Oscar relies on Django's site framework, while HAYSTACK_CONNECTIONS will enable Oscar's default search features.
Regarding database configuration, you can use Django's default SQLite setup for development, which will be something like:
DATABASES = {
    'default': {
        'ENGINE': 'django.db.backends.sqlite3',
        'NAME': BASE_DIR / 'db.sqlite3',
    }
}
Keep in mind that the sole database engine supported by Oscar is Postgres. So if you want to run Oscar with Postgres in development as well, use the following configuration:
DATABASES = {
    "default": {
        "ENGINE": "django.db.backends.postgresql",
        "NAME": "postgres",
        "USER": "postgres",
        "PASSWORD": "postgres",
        "HOST": "127.0.0.1",
        "PORT": "5432",
    }
}
In this case, you will need a Postgres instance running locally. You can launch one with a single command using Docker:
docker run -p 5432:5432 --name oscardb -e POSTGRES_PASSWORD=postgres -d postgres
We are almost done. It remains to append Oscar's URL patterns to our project. Go to myshopprj/myshopprj/urls.py and replace its content with:
from django.apps import apps
from django.conf import settings
from django.conf.urls.static import static
from django.contrib import admin
from django.urls import include, path

urlpatterns = [
    path('i18n/', include('django.conf.urls.i18n')),
    # Django admin site.
    path('admin/', admin.site.urls),
    # Oscar URLs.
    path('', include(apps.get_app_config('oscar').urls[0])),
] + static(settings.MEDIA_URL, document_root=settings.MEDIA_ROOT)
That's it! Now that we have the proper settings, run the initial migrations:
python manage.py migrate
If everything goes right, create an admin user with:
python manage.py createsuperuser
Finally, execute the development server:
python manage.py runserver
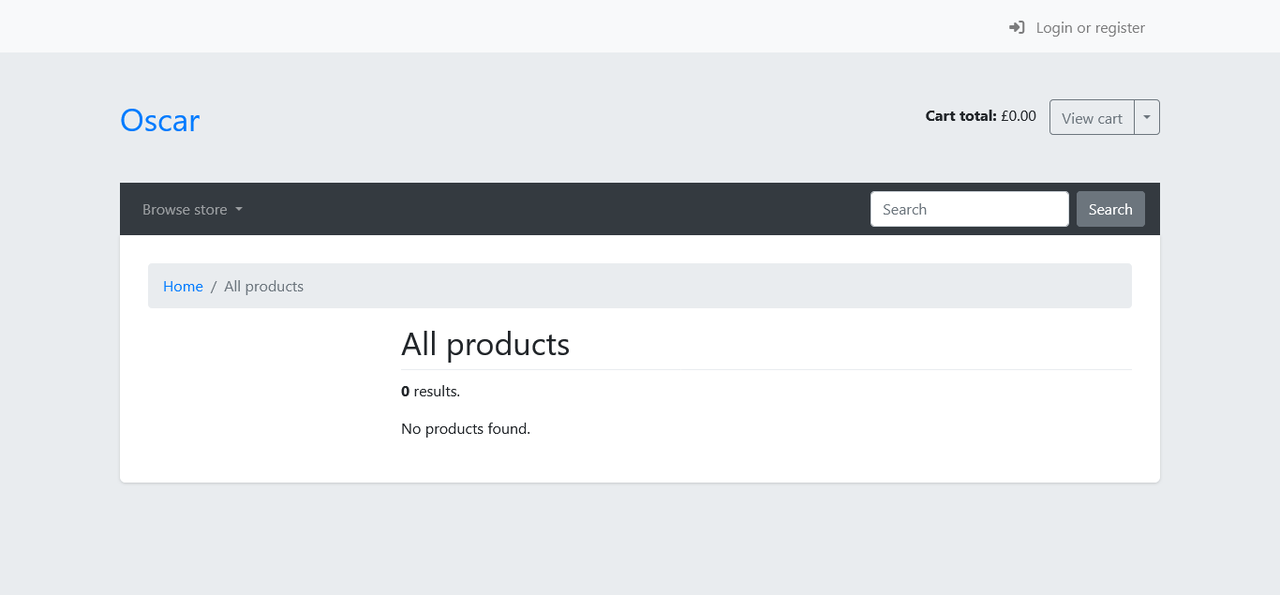
Open http://127.0.0.1:8000/ and voilá!
Publishing a Product
Let's make sure everything works by creating and publishing a new product.
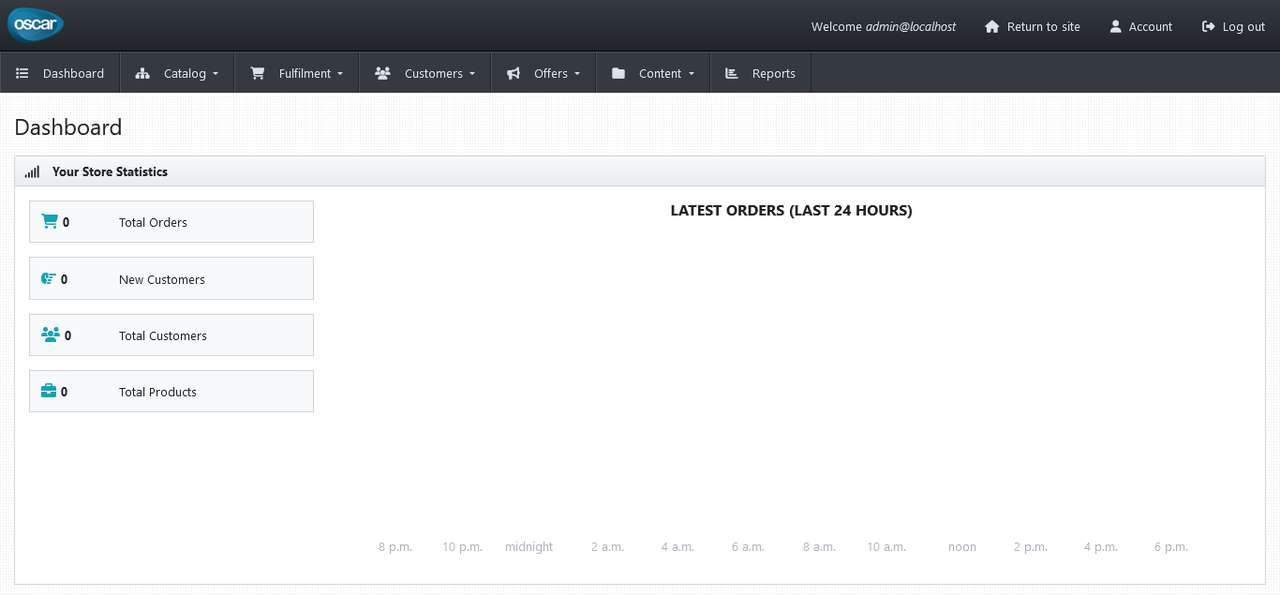
First, go to http://127.0.0.1:8000/accounts/login/ and login with your admin credentials. You will be redirected to the main dashboard:
In order to create a new product, you need at least:
One partner
One category
One product type
To create a new partner, go to Fulfilment > Partners (or http://127.0.0.1:8000/dashboard/partners/) and create a new partner with a simple name like "My partner".
To create a new category, go to Catalog > Categories (or http://127.0.0.1:8000/dashboard/catalogue/categories/). You don't need to complete everything, just write a name (e.g., "Clothes".)
To create a new product type, go to Catalog > Product Types (or http://127.0.0.1:8000/dashboard/catalogue/product-types/). By default, only a name is required as well (e.g., "T-Shirt".)
After this, create a new product by going to Catalog > Products (http://127.0.0.1:8000/dashboard/catalogue/) and selecting a product type from the dropdown. You must now fill at least the following fields:
Product details (Title and UPC)
Categories (Category)
Images (optional, but to make sure media files setup is working)
Stock and pricing (Partner, SKU, num in stock, price)
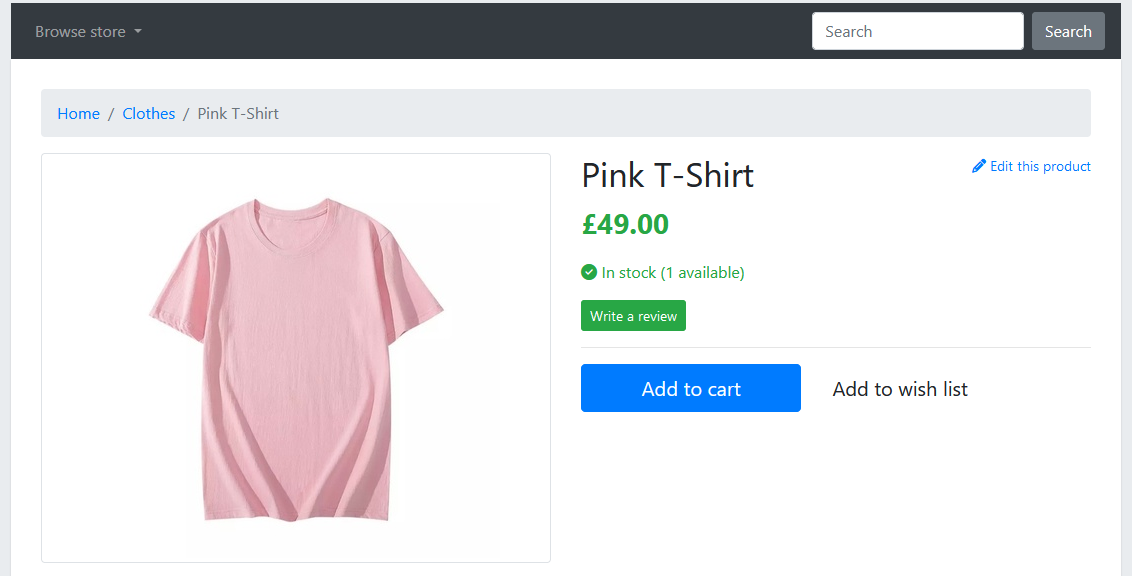
Once that is completed, press "Save" and you will have created your first product in Oscar. Congratulations!
Django Administration
Although the Django admin is not officially supported, it is useful for debugging purposes. Since we have added the proper URLs to our project's urls.py, you will be able to login with your admin credentials at http://127.0.0.1:8000/admin/.
